- Verzia: Veeam Backup & Replication 13
- Podporované OS: Windows Server 2016, 2019, 2022, Windows 10/11
- Minimálna RAM: 4 GB (odporúčané 8-16 GB)
- Disk: 5 GB pre inštaláciu
- Databáza: PostgreSQL (automaticky) alebo SQL Server
- Bezplatná verzia: Community Edition – 10 workloadov
- Porty: 9392, 9393, 9401, 9419
Veeam Backup Replication 13 inštalácia je proces, ktorý vám ukážem v tomto kompletnom návode krok za krokom. Ak zálohujete svoju IT infraštruktúru, Veeam je jedným z najlepších riešení na trhu. Ak ešte nezálohujete – mali by ste začať ešte dnes.
V tomto článku sa dozviete všetko o Veeam Backup Replication 13 inštalácii na Windows Server – od systémových požiadaviek až po prvé spustenie konzoly.
Čo je Veeam Backup & Replication 13?
Veeam Backup & Replication je profesionálne zálohovacie riešenie určené pre:
- Virtuálne prostredia – VMware vSphere, Microsoft Hyper-V, Nutanix AHV
- Fyzické servery – Windows Server, Linux
- Cloudové služby – AWS, Azure, Google Cloud
- Aplikácie – Microsoft 365, SQL Server, Oracle, SAP HANA
- NAS zariadenia – súborové zdieľania a úložiská
Veeam patrí medzi lídrov na trhu so zálohovacími riešeniami a ponúka spoľahlivé nástroje pre ochranu dát v podnikovom prostredí.
Možnosti licencovania Veeam Backup Replication
Veeam ponúka niekoľko licenčných modelov:
| Edícia | Popis | Vhodné pre |
|---|---|---|
| Community Edition | Bezplatná verzia, max. 10 workloadov | Domáce lab, malé firmy |
| Essentials | Základné funkcie zálohovania | Malé a stredné firmy |
| Enterprise | Pokročilé funkcie + SureBackup | Stredné a veľké firmy |
| Enterprise Plus | Všetky funkcie + orchestrácia | Veľké podniky, datacentrá |
V tomto návode pre Veeam Backup Replication 13 inštaláciu použijeme bezplatnú Community Edition.
Systémové požiadavky pre Veeam Backup Replication 13 inštaláciu
Pred inštaláciou sa uistite, že váš server spĺňa tieto minimálne požiadavky:
Hardvérové požiadavky Veeam 13
- Procesor: x64 procesor (minimálne 4 jadrá odporúčané)
- RAM: Minimum 4 GB (odporúčané 8 GB a viac)
- Disk: Minimálne 5 GB voľného miesta pre inštaláciu + priestor pre databázu
- Sieť: Gigabitové pripojenie
Softvérové požiadavky Veeam 13
- Operačný systém: Windows Server 2016/2019/2022 alebo Windows 10/11
- Databáza: PostgreSQL (inštaluje sa automaticky) alebo Microsoft SQL Server
- .NET Framework: 4.7.2 alebo novší
Viac informácií nájdete v oficiálnej dokumentácii Veeam.
Krok za krokom: Veeam Backup Replication 13 inštalácia
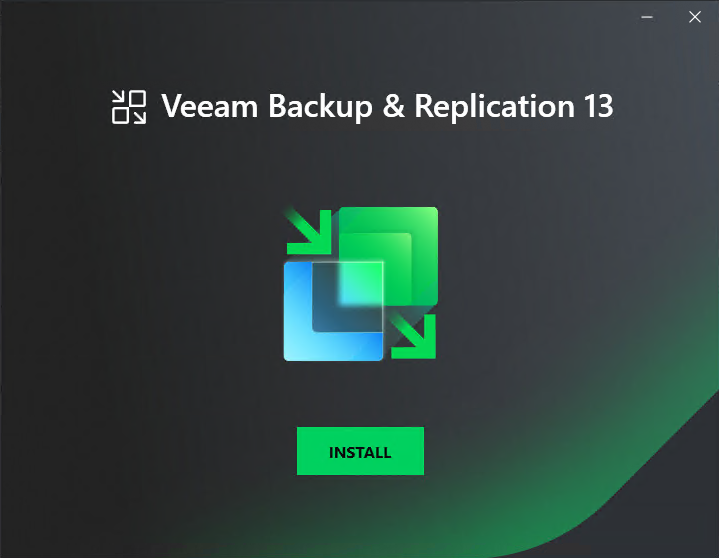
Krok 1: Spustenie inštalátora
Po stiahnutí ISO obrazu z oficiálnej stránky Veeam ho pripojte a spustite inštalačný súbor.
Kliknite na zelené tlačidlo INSTALL pre spustenie inštalačného sprievodcu.
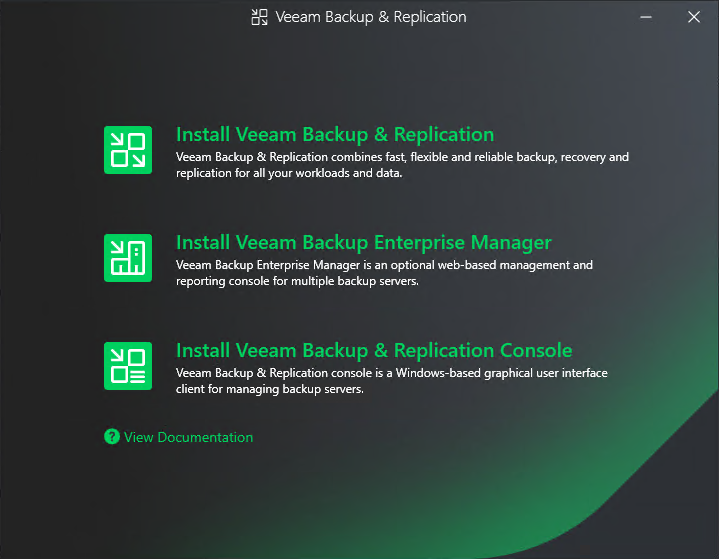
Krok 2: Výber komponentov
V ďalšom kroku si vyberiete, ktoré komponenty chcete nainštalovať:
- Veeam Backup & Replication – Hlavný zálohovací server
- Veeam Backup Enterprise Manager – Webová konzola pre správu viacerých serverov
- Veeam Backup & Replication Console – Samostatná Windows konzola
Pre základnú inštaláciu zvoľte prvú možnosť.
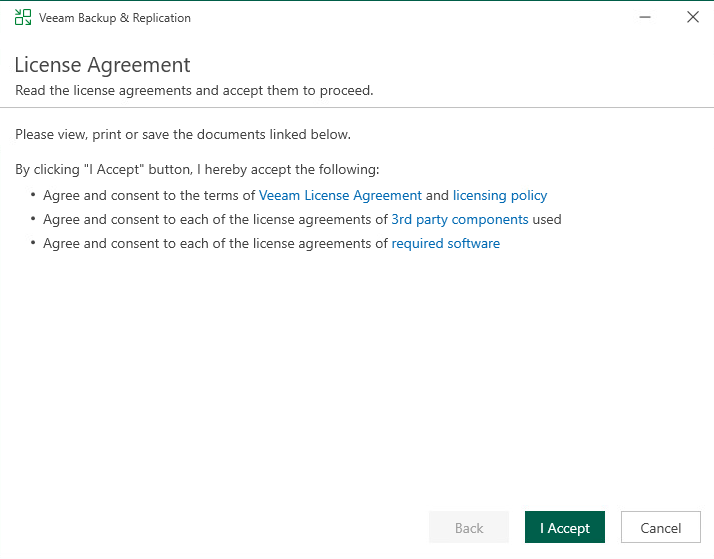
Krok 3: Prijatie licenčných podmienok
Prečítajte si licenčné podmienky a kliknite na I Accept.
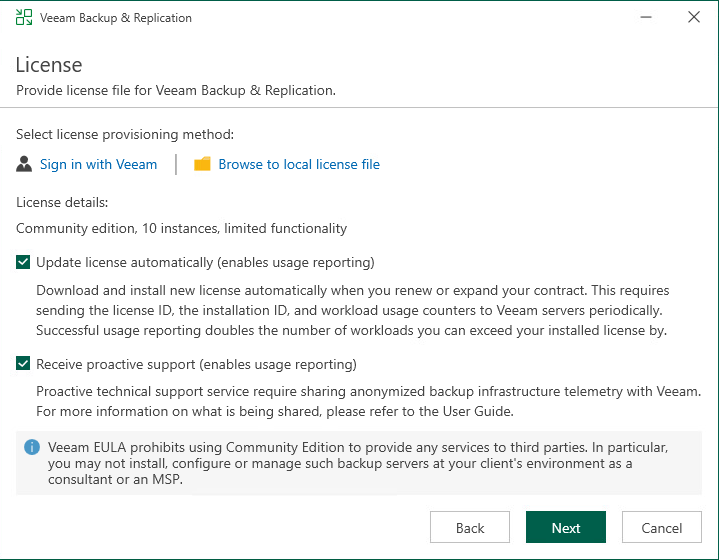
Krok 4: Nastavenie licencie
Ak nemáte platenú licenciu, Veeam automaticky použije Community Edition s limitom 10 inštancií.
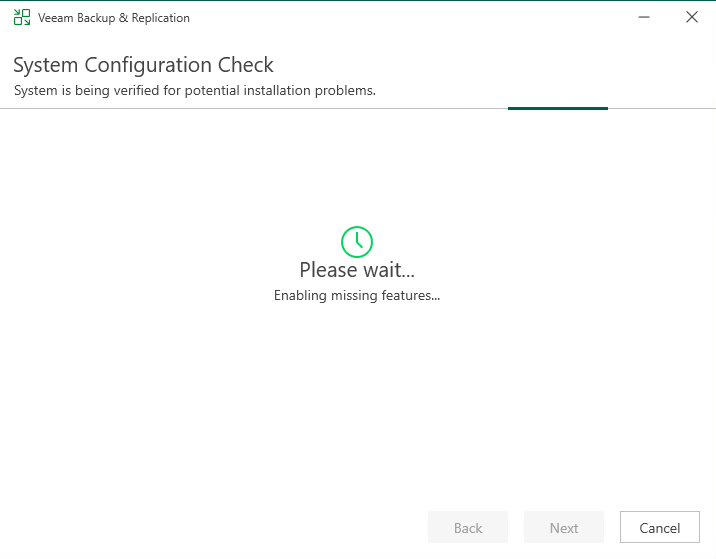
Krok 5: Kontrola systémovej konfigurácie
Inštalátor skontroluje váš systém a automaticky doinštaluje chýbajúce komponenty.
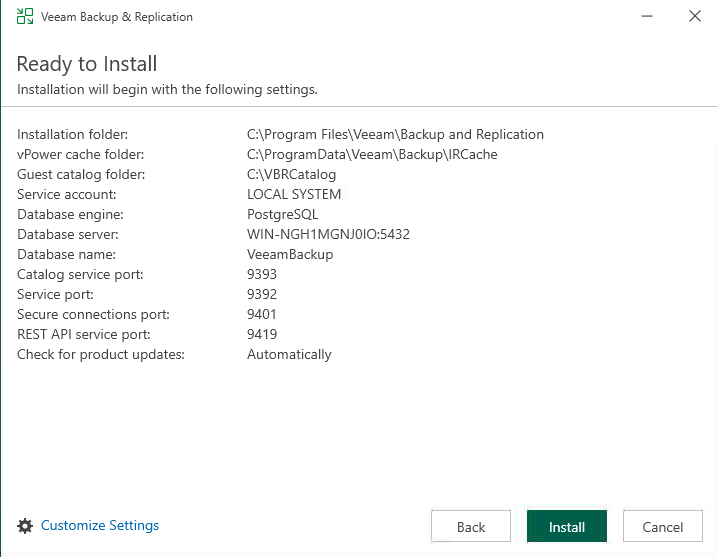
Krok 6: Súhrn nastavení
Pred inštaláciou sa zobrazí prehľad všetkých nastavení vrátane portov (9392, 9393, 9401, 9419).
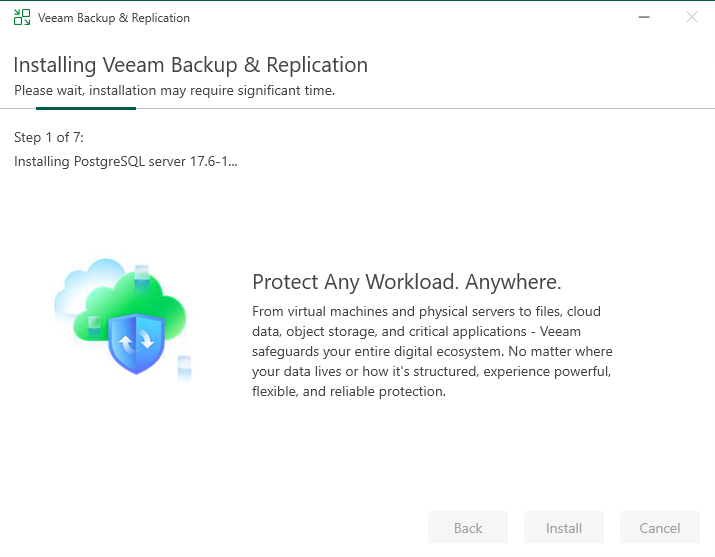
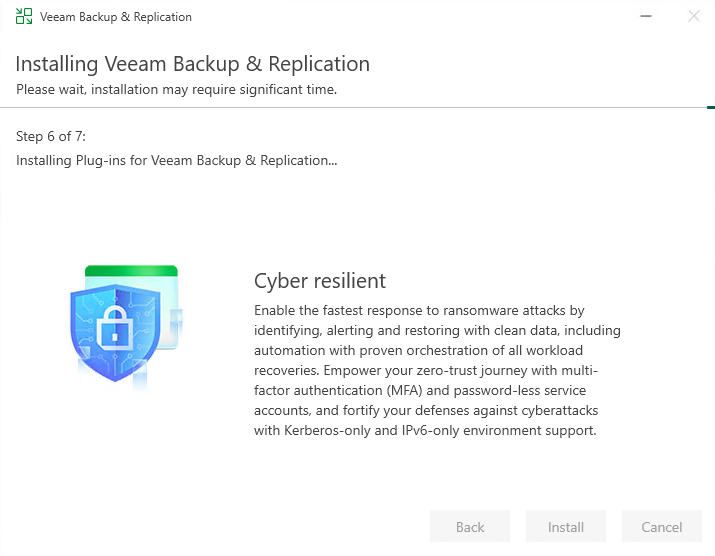
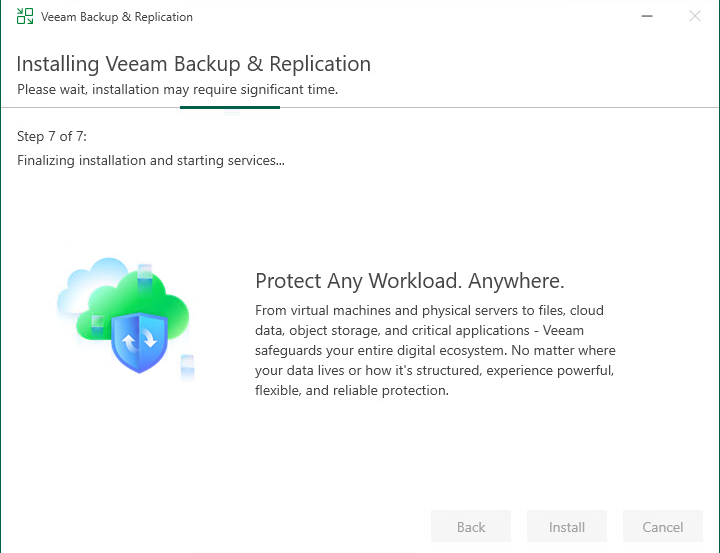
Krok 7: Priebeh inštalácie
Inštalácia prebieha v 7 krokoch a môže trvať niekoľko minút.
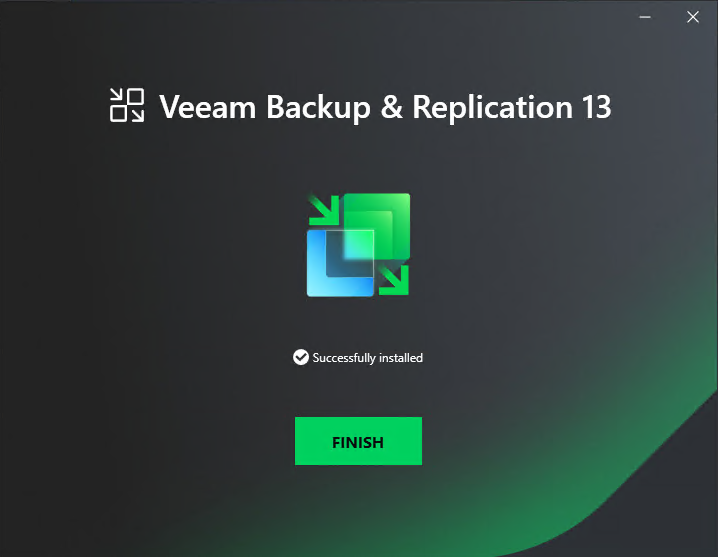
Krok 8: Úspešné dokončenie
Po dokončení inštalácie kliknite na FINISH.
Prvé spustenie Veeam konzoly
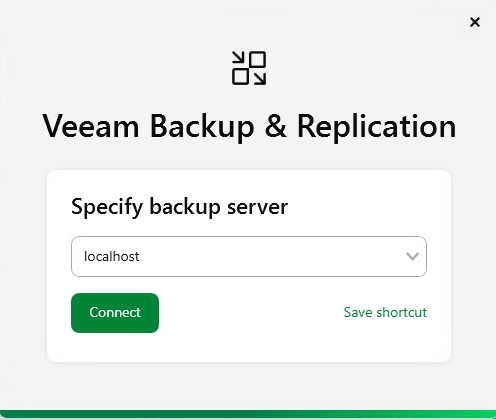
Pripojenie k serveru
Po inštalácii sa automaticky spustí konzola. Zadajte localhost a kliknite na Connect.
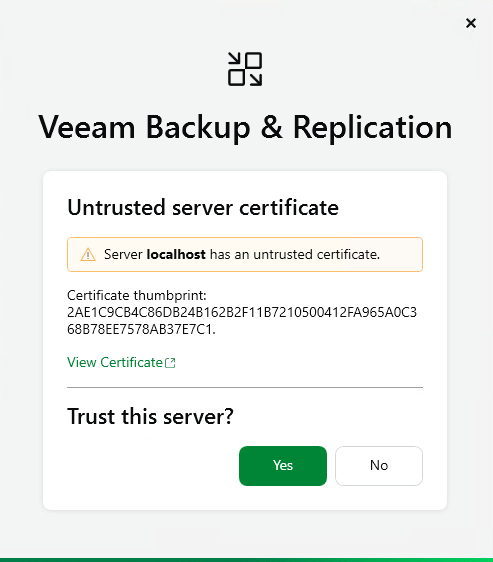
Potvrdenie certifikátu
Pri prvom pripojení potvrďte self-signed certifikát kliknutím na Yes.
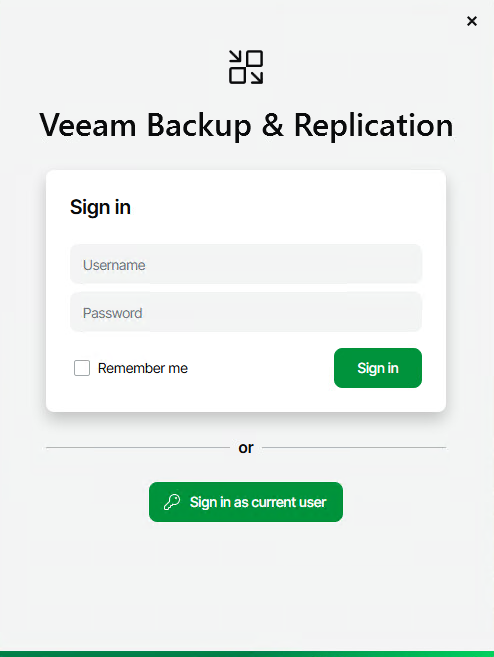
Prihlásenie do konzoly
Prihláste sa pomocou Windows účtu s administrátorskými právami.
Hlavné rozhranie
Po úspešnom prihlásení sa zobrazí hlavná obrazovka konzoly.

Čo ďalej po Veeam Backup Replication 13 inštalácii?
V ďalších článkoch si ukážeme:
- Ako pridať VMware vCenter alebo Hyper-V hostiteľa
- Ako vytvoriť backup repository
- Ako nakonfigurovať prvú zálohovaciu úlohu
- Ako obnoviť dáta zo zálohy
Zhrnutie
Veeam Backup Replication 13 inštalácia je priamočiara. Kľúčové body:
- Pre testovanie stačí bezplatná Community Edition (10 workloadov)
- Veeam automaticky nainštaluje PostgreSQL databázu
- Základná inštalácia zaberie približne 5 GB diskového priestoru
- Po inštalácii je server ihneď pripravený na konfiguráciu
Často kladené otázky (FAQ)
Koľko stojí Veeam Backup & Replication 13?
Veeam ponúka bezplatnú Community Edition pre max. 10 workloadov. Platené verzie (Essentials, Enterprise, Enterprise Plus) sú licencované per-socket alebo per-workload. Kontaktujte Veeam partnera pre cenovú ponuku.
Aké sú minimálne systémové požiadavky pre Veeam 13?
Minimálne požiadavky: 4 GB RAM, x64 procesor, 5 GB disk, Windows Server 2016/2019/2022 alebo Windows 10/11. Pre produkciu odporúčame 16 GB RAM a SSD.
Akú databázu používa Veeam 13?
Veeam 13 štandardne používa PostgreSQL, ktorý sa inštaluje automaticky. Alternatívne môžete použiť Microsoft SQL Server.
Aké porty používa Veeam Backup & Replication?
Hlavné porty: 9392 (Veeam Backup Service), 9393 (Veeam Backup Secure Connections), 9401 (REST API), 9419 (Veeam Backup Reporter).
Môžem nainštalovať Veeam na virtuálny server?
Áno, Veeam Backup & Replication môžete nainštalovať na fyzický aj virtuálny server. Pre produkčné prostredie sa odporúča fyzický server alebo VM s dedikovanými zdrojmi.
Ako dlho trvá inštalácia Veeam 13?
Štandardná inštalácia trvá približne 10-15 minút v závislosti od výkonu servera. Inštalácia zahŕňa PostgreSQL databázu a všetky potrebné komponenty.
Podporuje Veeam 13 zálohovanie VMware a Hyper-V?
Áno, Veeam 13 plne podporuje VMware vSphere, Microsoft Hyper-V, a tiež Nutanix AHV. Podporuje aj fyzické servery, cloud (AWS, Azure, GCP) a aplikácie (M365, SQL, Oracle).
Ak máte otázky, napíšte do komentárov.

Odborník na kybernetickú bezpečnosť, správu Azure Cloud a VMware onprem. Využíva technológie, ako Checkmk a MRTG, na monitorovanie siete a zvyšovanie efektívnosti a bezpečnosti IT infraštruktúry. Kontakt: hasin(at)mhite.sk